Blender:Appliquer l'armature biped rig sur un personnage
| Ce wiki a été archivé en 2018.
Le nouveau wiki se trouve à: ressources.labomedia.org Les fonctionnalités sont désactivées: vous pouvez faire une recherche sur Google site:https://wiki.labomedia.org et découvrir La Labomedia. |
Le personnage Fichier:01 hero.blend
L'armature sera biped_rig mais en français Fichier:ArmatureFrench.blend
Mettre à l'echelle 1 le hero, puis Ctrl + A Fichier:02 hero echelle 1 ctrl a.blend
Importer l'objet "armature" Fichier:03 hero armature import OK.blend
Appliquer un modifier armature sur le hero, en haut de pile Fichier:04 hero modifier hero OK.blend
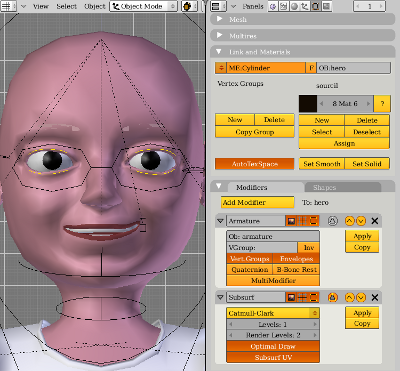
Le Modifier Armature est ajouté 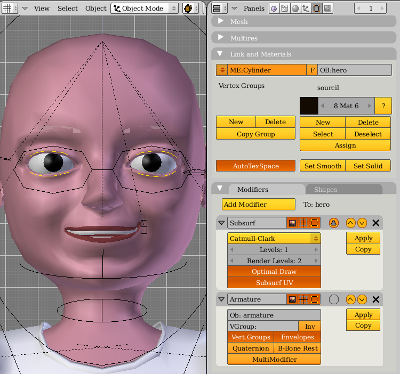 Modifier en haut de pile
Sélectionner tous les os de l'armature en mode Pose, puis l'objet hero, puis passer en Mode Weight Paint Fichier:05 hero weigh paint a faire.blend
Selection armature 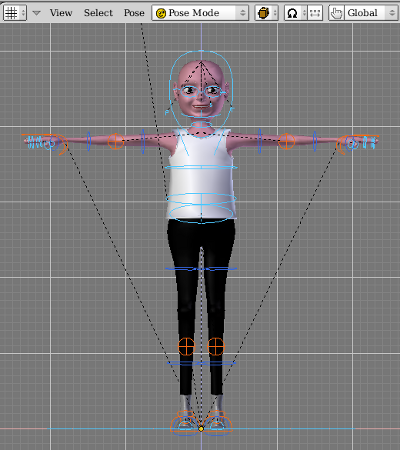 Sélection hero puis mode Paint
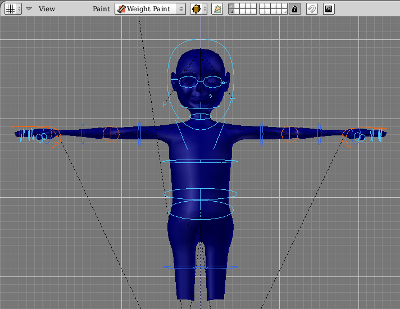
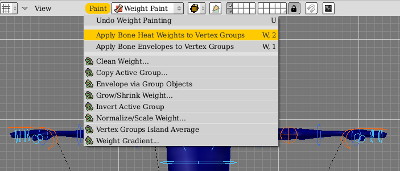
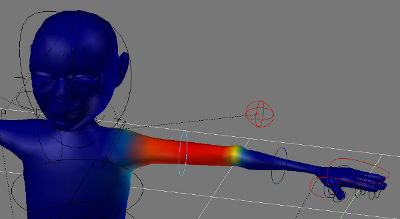
Menu de la 3D View, Paint, Apply Bones Heat Weight to Vertex Groups, puis sélectionner un bones, apprécier les couleurs, corriger si besoin. En rouge le poids est de 1, en bleu foncé le poids est nul Fichier:06 hero correction weight a faire.blend
Les poids sont corrigés, passer au tshirt Fichier:07 hero correction weight OK.blend
Appliquer la méthode sur le tShirt Fichier:08 hero tShirt weight a faire.blend
Le tShirt est fait, passer au pantalon Fichier:09 hero tShirt weight OK.blend
Le pantalon est fait Fichier:10 hero pantalon weight OK.blend
Passer aux rangers, puis aux yeux en les parentant aux os correspondant sans modifier Fichier:11 hero rangers yeux weight a faire.blend
Le hero fini Fichier:12 hero fini.blend
